Quickstart Guide
Step 1: Invite Honeypot to your server
DANGER
Remember to only invite Honeypot using these methods! Inviting non-official bots can lead to your server being compromised.
WARNING
Do not uncheck any of the permissions Honeypot requests during the setup process. These are all necessary for it to function, and problems may occur if they are not available to the bot.
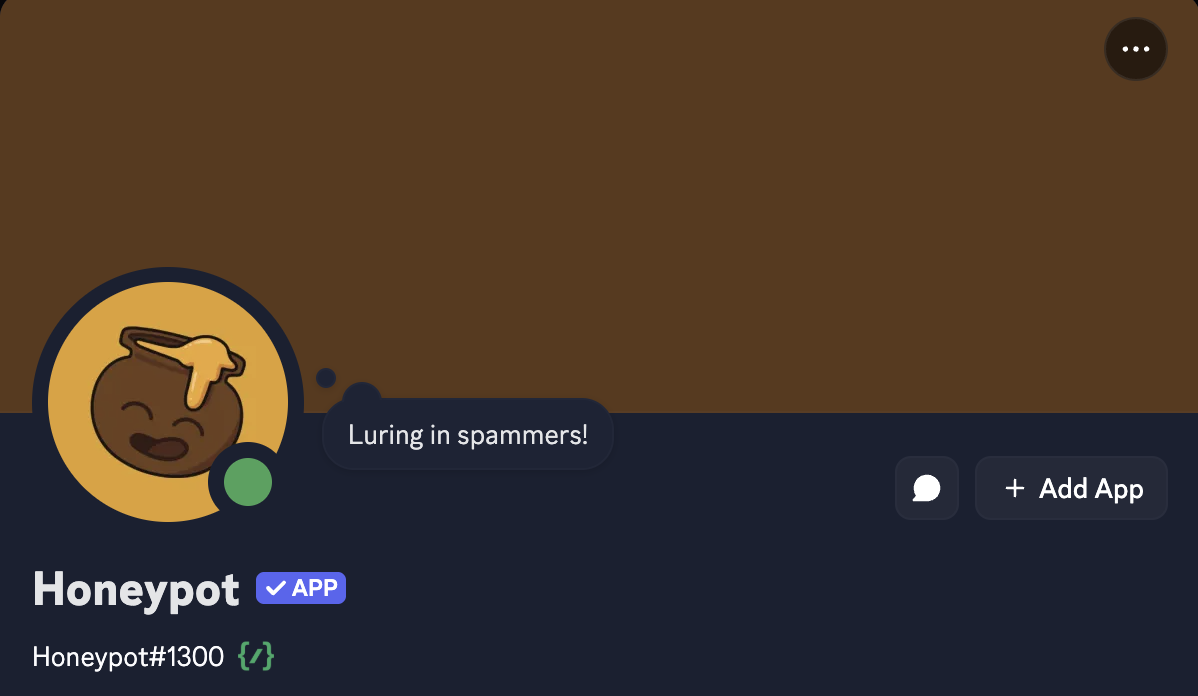
You can add the bot to your server using this link! Alternatively, you can click on the "Add App" button on Honeypot's profile, as shown in the image below:
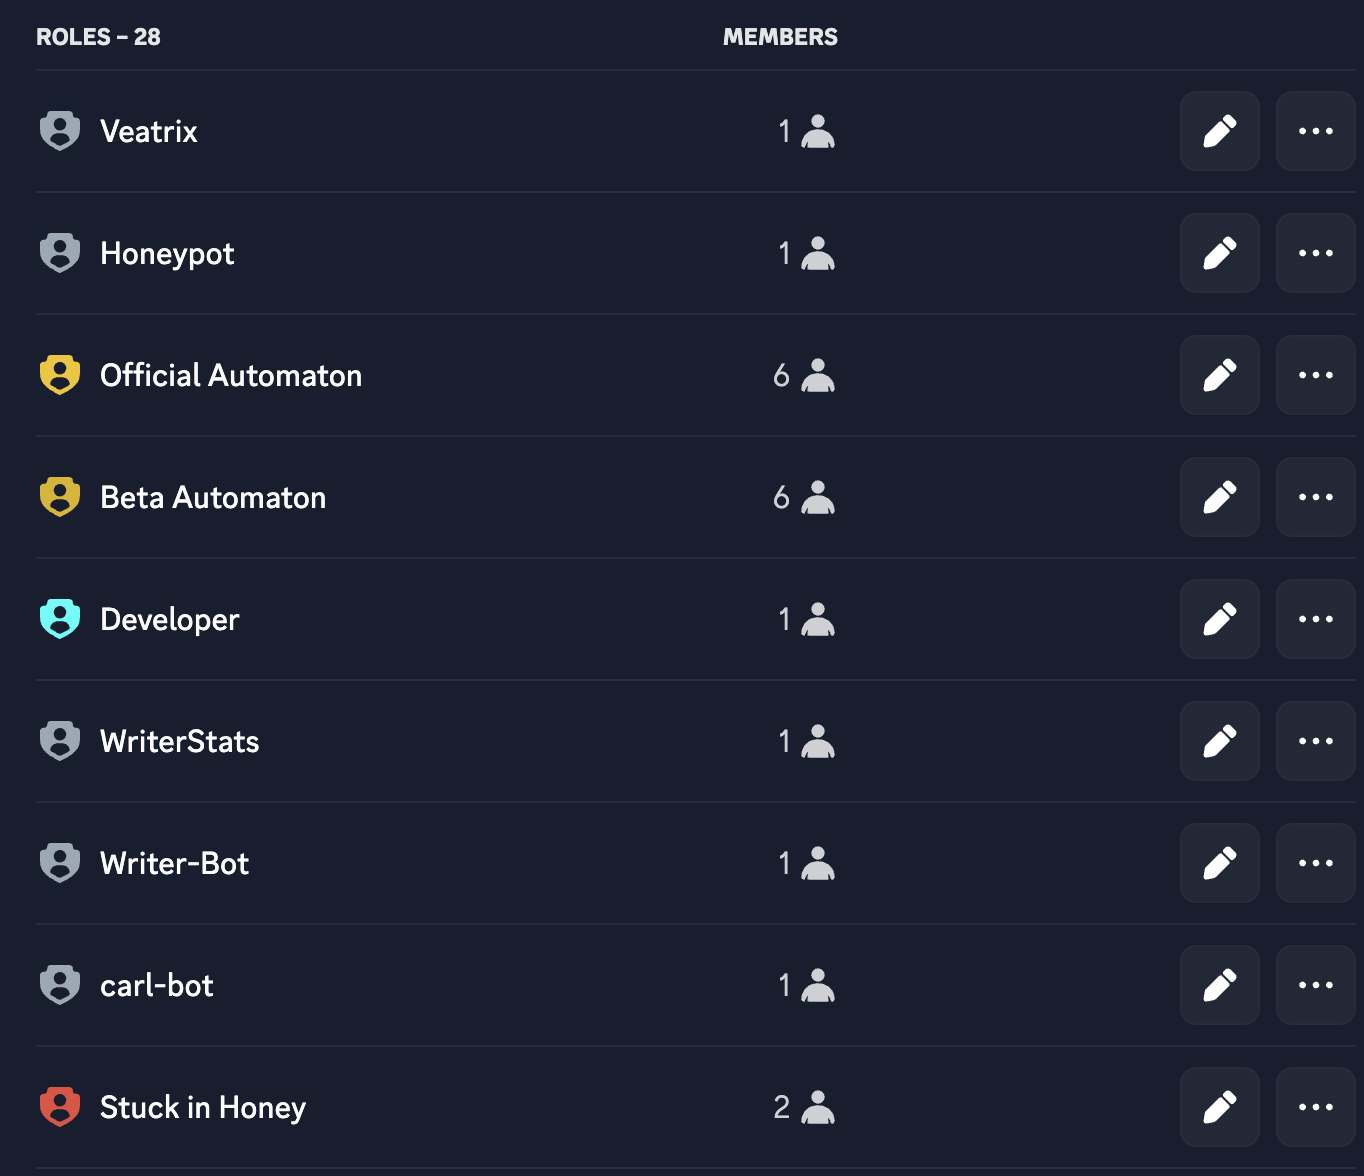
Step 2: Move Honeypot's role to the top of your role list.
Once you add the bot to your server, a "Honeypot" role will be created for the bot. In order for Honeypot to ban, timeout and provide roles to other members, its role needs to be close to or at the top of your role list, as shown below:
Step 3: Create your first Honeypot!
Once the Honeypot role has been moved to a higher position, you're ready to create your first Honeypot! Simply run the /honeypot create command, and specify the channel you'd like the Honeypot to be created in. By default, this creates a Honeypot that bans members that trigger it, and delete their messages for the last day.
You can see details on editing this to timeout or provide members with a role on the Editing Honeypots page.
Step 4: Set up logging for Honeypot actions (Optional)
If you'd like to set a channel to receive notifications in whenever Honeypot takes an action, use the /logging set channel command, with the channel you'd like to use for the logs. If you want a role to be pinged for each new log, you can use the /logging set role command to add one.
You can see more details on configuring Honeypot logging on the Logging Configuration page.
All Done!
You've successfully set up Honeypot on your server! If you have any further questions or problems, feel free to check out the rest of this guide, or join our support server using this link!